Somewhere on a ridge above a valley you half recognise, the map comes out of the pocket and the question arrives: which way is north? No compass, no phone signal, and a path that forks in two directions that look identical. The situation feels worse than it is. A map without a compass is not a broken tool — it is a puzzle with a few more pieces than usual, and most of those pieces are already in front of you. The shape of the hills, a signpost at the last junction, and the sun, which has been rising in the east for a very long time, are usually enough to get the paper lined up with the ground. What follows are the techniques worth practising on an easy walk, so they are familiar when the walk stops being easy.
First, Let the Map Tell You What It Already Knows
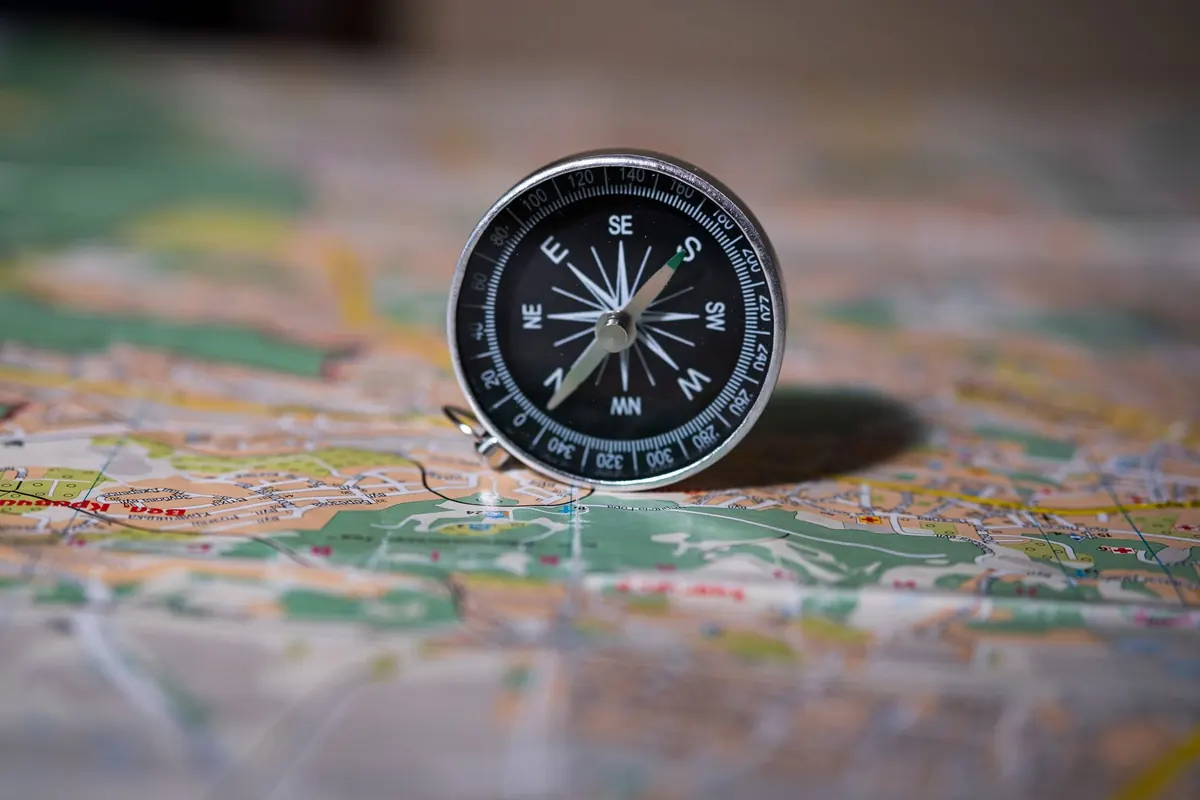
Before looking up at the landscape, look down at the paper. Most topographic maps carry a north arrow, and many have grid lines that run vertically. Those lines give you a reference direction even when nothing else does: the top of the sheet is north, in the sense the mapmaker intended. Some legends also print a magnetic declination figure, showing the angle between grid north and magnetic north at the time of printing. Without a compass this number seems useless, but note it anyway. If someone later hands you a compass, or you check a phone, that small angle explains why the needle will not agree with the map's edge.
Check the scale and the contour interval while you are there. A 1:25,000 sheet shows walls and field boundaries; a 1:50,000 sheet shows the broad shape of things. Turning the map until it matches the terrain is far easier on the more detailed sheet, because you have more features to match.
Then hold the map flat — genuinely flat, not tilted toward your face — with the area you are standing in near the middle. A map read like a book, angled up at forty-five degrees, distorts every relationship you are about to judge.
Use the Sun for a Rough Bearing, Not a Precise One
The sun rises in the east and sets in the west. That much is broadly true at every latitude, though it is most exactly true around the equinoxes. In the northern hemisphere's summer, sunrise sits north of east and sunset north of west; in winter it drifts the other way. So treat the sunrise and sunset points as a rough east–west axis, good enough to separate a path heading north from one heading south, and not good enough to do anything finer.
Around solar noon the sun is more useful. In the temperate northern hemisphere — comfortably north of the tropics — the midday sun stands due south. In the temperate southern hemisphere it stands due north. Turn until your shadow points away from you in the right direction and the map's top edge follows: north away from the shadow in the northern hemisphere, toward it in the southern. Do remember that solar noon is rarely clock noon. Daylight saving time, and the width of a time zone, can push it an hour or more off twelve.
The shadow-stick method
- Push a stick, walking pole, or straight branch upright into flat, open ground.
- Mark the tip of its shadow with a stone or a scratch in the dirt.
- Wait fifteen or twenty minutes. The tip will have moved.
- Mark the new tip. The line between the two marks runs roughly east–west, with the first mark on the western side.
- Stand with the first mark to your left and the second to your right; you are now facing roughly north in the northern hemisphere, roughly south in the southern.
This gives you a quadrant, not a bearing. It is enough to orient a map, not enough to walk a precise line through fog.
Align the Map With Landmarks
This is the technique that does most of the work, and it needs no sun at all. The idea is simple: find features you can see and identify on the paper, then rotate the whole map until the arrangement on the paper matches the arrangement on the ground. You are not calculating anything. You are matching a pattern.
- Pick two or three unmistakable features within sight: a summit, the far end of a lake, a bridge, a distinctive bend in a river, a coastline point, a radio mast, a church tower above trees.
- Locate each one on the map. Be honest with yourself — if you are guessing which of three similar summits is which, pick something else.
- Hold the map flat at waist height. Sight along its edge toward one feature, then pivot your body and the map together until a second feature falls where the paper says it should.
- Use the third feature as a check. Two features can align in two ways, one of them exactly backwards. The third resolves it.
- Keep the map oriented as you walk. Every few minutes, glance at it and confirm the pattern still holds.
Distant features are the most useful for direction and the least useful for judging distance. A peak twenty kilometres away barely moves as you walk; a bridge two hundred metres away tells you precisely where you are but nothing about which way the valley runs. Use distant objects to set the orientation, nearby ones to confirm your position.
Trail Signs, Blazes, and Other Human Clues
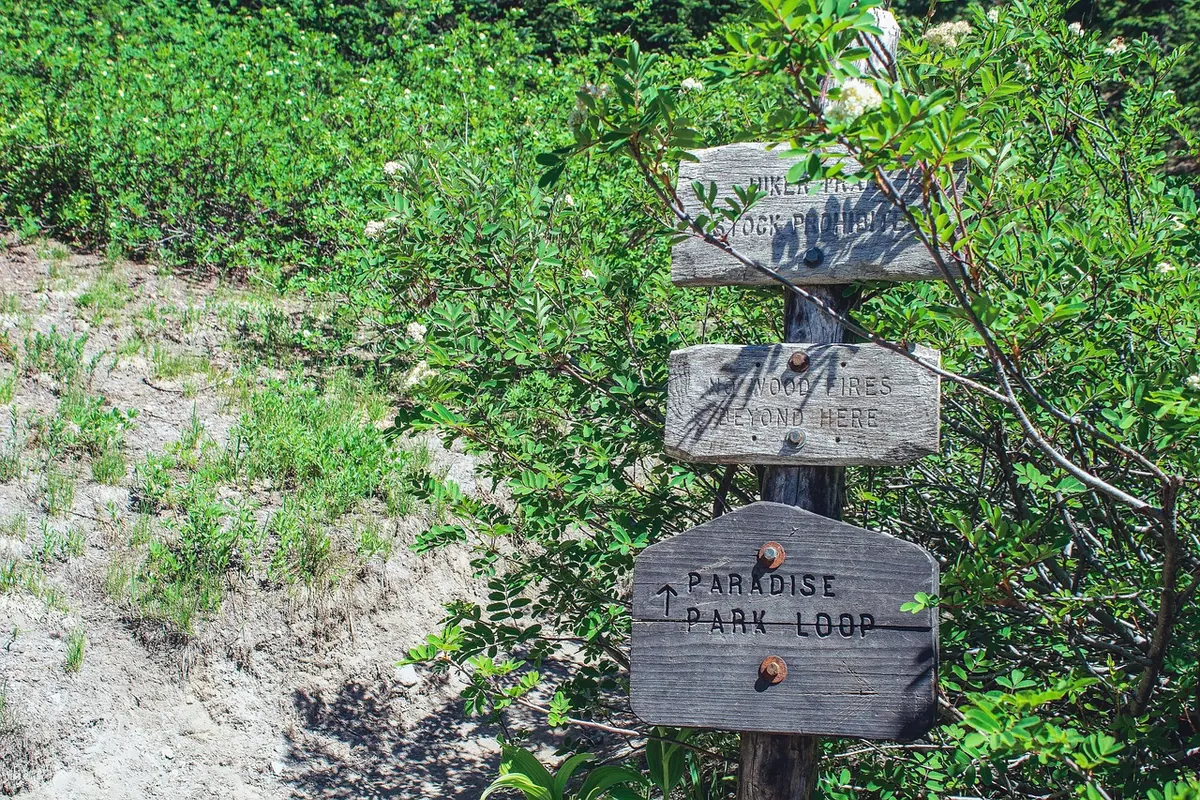
Signs are the most underrated orientation tool on a marked route. A fingerpost naming the next village, with an altitude and a distance, does two things at once: it tells you which path you are on and roughly how far along it you stand. Junction numbers, painted blazes on rocks, cairns, kilometre posts, and the numbered pylons of a ski lift or power line all appear on good maps or can be inferred from them.
Human landscape features carry direction too. Fence lines run along boundaries, stone walls follow old property edges, plantation forests have straight edges and regular rows, and field terraces hint at slope. Streams are the most reliable of all: water flows downhill, always, and a contour line crossing a stream forms a V that points upstream. If you know which way the water is running, you know which way is up the valley, and that alone can settle a map's orientation.
Some traditional clues deserve a warning. The idea that moss grows on the north side of trees is unreliable — moss favours damp and shade, which depend on prevailing wind, canopy, and species far more than on north. Treat it as a last hint at best, never as evidence.
When Only One Landmark Is Visible
Woodland and low cloud often leave you with a single identifiable feature. Combine it with the direction of the path under your feet. If the trail on the map runs north-east from the junction and a particular summit sits on your left shoulder, then you know which way to turn the paper: the summit's position on the map must fall to the left of the path you are on. One feature plus one known line is often enough.
The other trick is to turn around. A view looking back is frequently easier to match than the view ahead, because the terrain behind you is the terrain you have already walked through and remember. Walk fifty metres back down the path and try again. Many orientation problems dissolve simply by standing somewhere with a clearer view.
Common Errors Worth Guarding Against
- The 180-degree mistake. The most frequent error of all. If the map seems to fit but the path heads the wrong way, suspect this first.
- Mirroring. Turning the map over in your head rather than in your hands. Match the pattern physically, not mentally.
- Tilting instead of turning. Rotating the sheet toward your face changes what you see but not what is true.
- Confident misidentification. A wrong feature matched confidently produces a wrong orientation confidently. If you cannot name it, do not use it.
- Forgetting declination. Without a compass it is irrelevant, but the moment you borrow one, remember the map's grid north and the needle's north are not the same.
A Half-Minute Routine to Use Every Time
Stop, take the map out, and hold it flat. Find north from the sheet's own markings, then from the sun if it is visible. Pick two landmarks you can name without doubt, turn the paper until the pattern matches, and confirm with a third. Check the signpost at the last junction against the map's path. Then walk on, glancing down every few minutes rather than every half hour.
Practise this on routes you already know, where a mistake costs nothing but a few minutes. On familiar ground the habit becomes quick and quiet, and the day it matters, in mist on an unfamiliar ridge, you will orient the map before you have even thought about it.
Photo: Greyerbaby / Pixabay